Run TEM3P Analysis
1. Submit Job
Make sure you are logged into NERSC, then open the ACE3P menu and select the Submit Analysis Job… item to open the job-submit dialog. Enter your Project repository, then scroll down to the Number of cores field and enter 32. You can use the default values for the rest of the fields in the dialog.
Important
Given the size of this simulation, be sure to change the Number of cores from 1 to 32 so that the job will run in a reasonable time.
Once you submit the job, ModelBuilder for ACE3P will add a row for it in the Simulation Jobs panel and begin polling NERSC for status updates.
2. Download Job Output Data
After the job has completed, download the results using the “Download” tool button in the Simulation Jobs panel, as described in Downloading Omega3P Results.
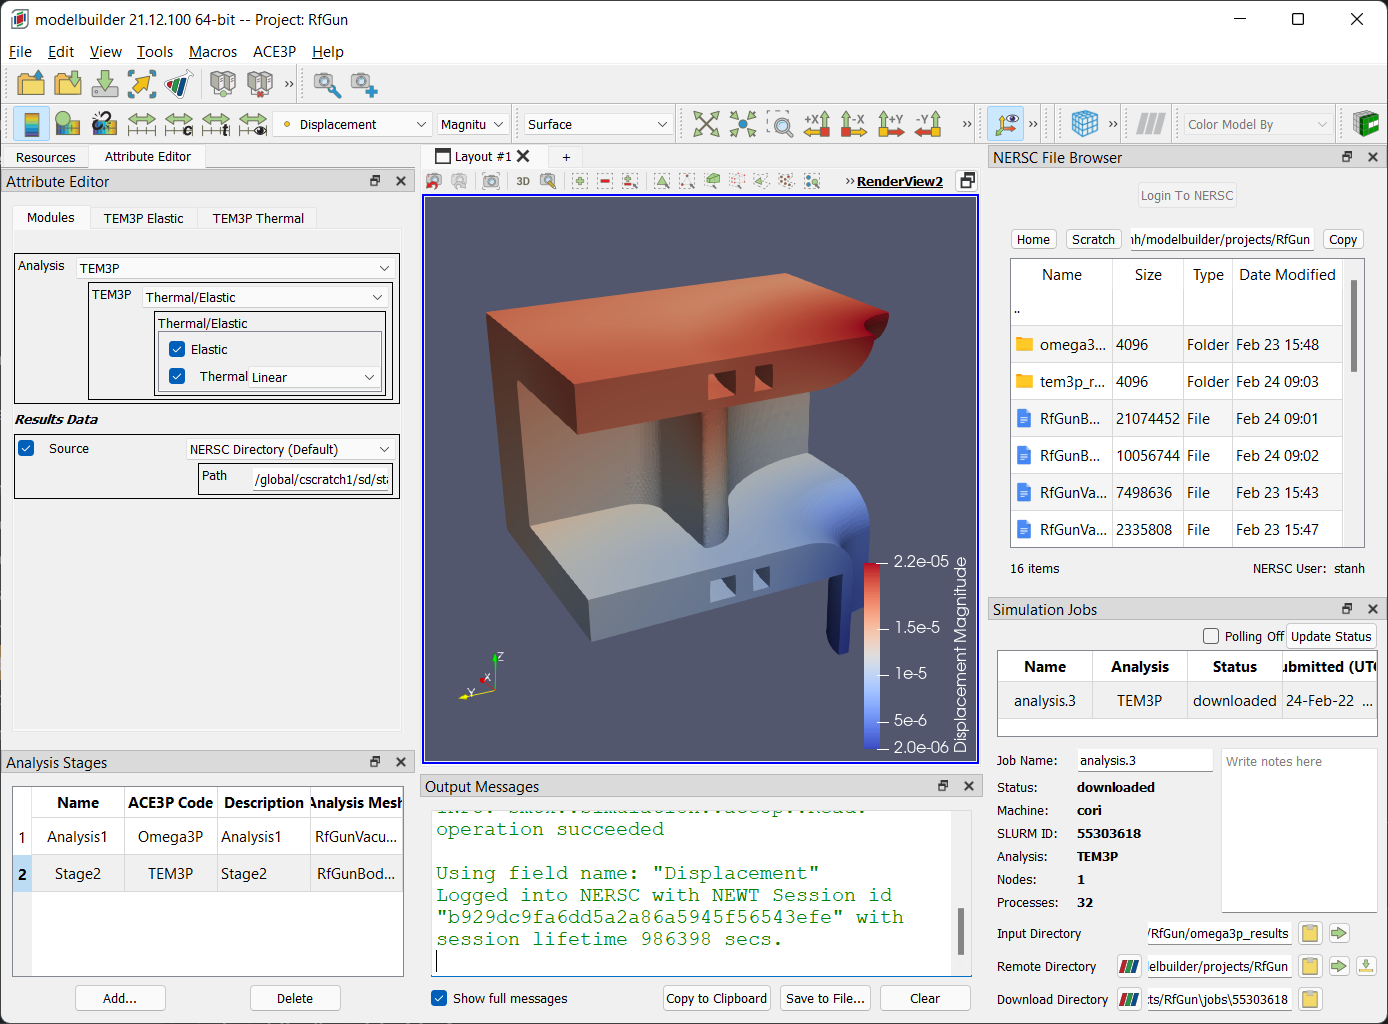
3. Display the Results Data
When the download is finished, you can view the computed field data by clicking the “Display” tool button as described in Viewing Omega3P Results. When modelbuilder opens the Mode Files dialog, select Displacement.mod and click the OK button. You can also enable the ParaView features to explore all of the fields computed by this analysis in more detail.